Learning how to make a small snap pouch can be both fun and practical. Whether you’re a sewing enthusiast or a beginner looking for a quick and satisfying project, this tutorial will walk you through all the steps you need to create a charming and functional snap pouch. From organizing your sewing supplies to giving handmade gifts, these small pouches are useful in many situations.
Using simple materials and basic sewing techniques, you’ll be surprised at how quickly you can craft your own pouch. The great thing about learning how to make a small snap pouch is that it doesn’t require expensive equipment or advanced skills. It’s a wonderful project to use up fabric scraps, express your creativity, and make something you’ll use often.
This detailed guide will explain every step of the process so that you can confidently say you know how to make a small snap pouch. From cutting the fabric to inserting the snap closure, everything will be clearly laid out to help you succeed. Let’s begin your journey into making your very own snap pouch!
1. Gathering Your Supplies
Before diving into the sewing part, make sure you have all your materials ready. Preparation is key when learning how to make a small snap pouch.
Start with two fabric pieces: one for the outer layer and one for the lining. Cotton fabric works best for beginners because it’s easy to handle and sew. You’ll also need lightweight fusible interfacing to add structure to your pouch.
You’ll need a pair of scissors or a rotary cutter to cut your fabric pieces accurately. A ruler or measuring tape will help you make precise measurements, which is essential in keeping your pouch neatly aligned.
A snap button is what gives the pouch its “snap.” There are many kinds available—plastic snaps, magnetic snaps, or metal ones. Choose whichever you feel most comfortable installing.
Finally, gather your thread, sewing pins or clips, an iron, and a sewing machine. With all your tools and materials on hand, you’re now fully prepared to follow the steps on how to make a small snap pouch.
2. Cutting and Preparing the Fabric
When learning how to make a small snap pouch, accurate cutting is essential for a neat result.
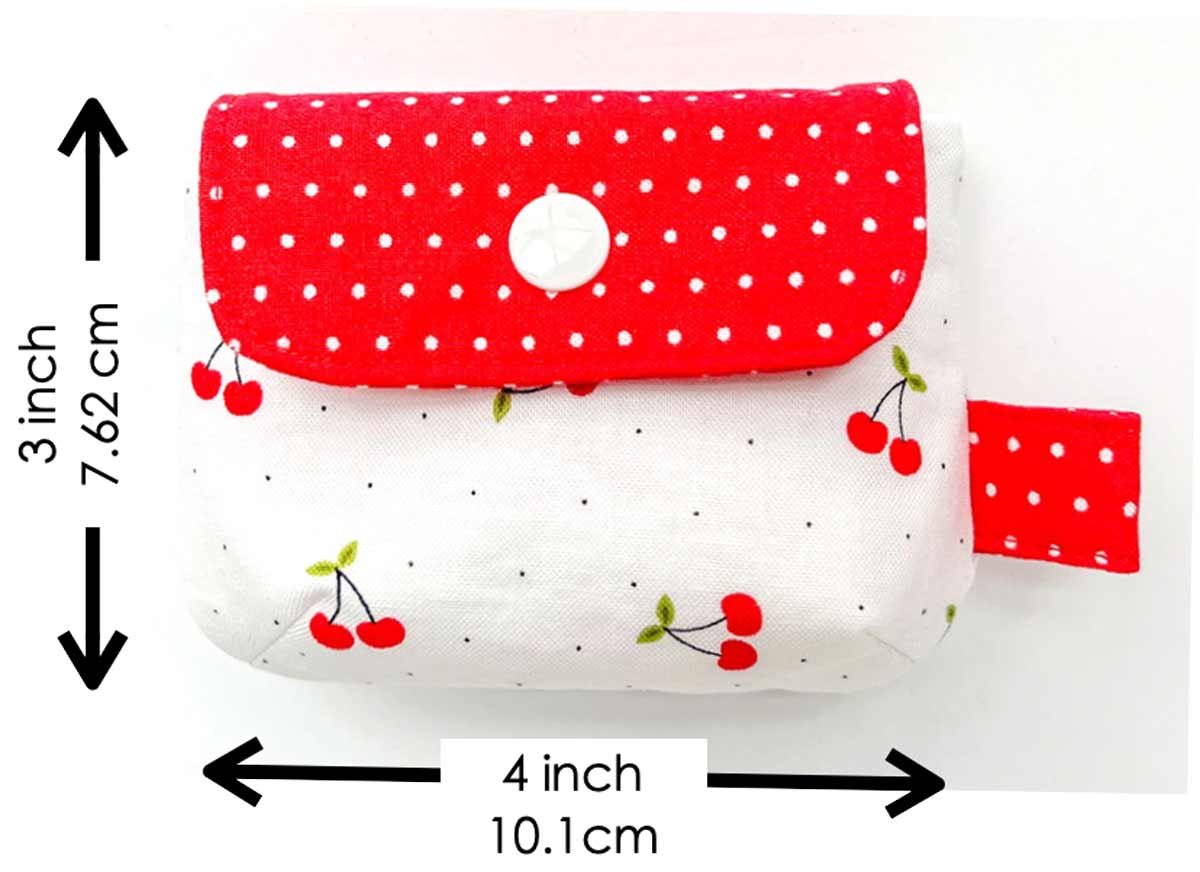
Begin by deciding on the finished size of your pouch. A common measurement is 5” by 4”. To accommodate seam allowances and structure, cut both the outer fabric and lining fabric to approximately 6.5” by 5.5”. Don’t forget to cut the interfacing to match.
Iron the fusible interfacing onto the wrong side of the outer fabric. This step will help your pouch hold its shape and look professional. Use a pressing cloth to protect your fabric while applying heat.
With the interfacing applied, place the outer fabric and the lining fabric right sides together. Pin or clip the edges so that the pieces stay aligned while sewing.
Sew around the edges with a ¼” seam allowance, leaving a small gap on one of the shorter sides. This opening will allow you to turn the fabric right side out later.
After stitching, clip the corners diagonally to reduce bulk. Turn the pouch right side out through the gap, gently pushing out the corners for a crisp shape.
Give the pouch a good press with the iron to smooth out any wrinkles and prepare it for topstitching. At this stage, you’ll start to see your progress as you master how to make a small snap pouch.
3. Assembling and Shaping the Pouch
Shaping your pouch correctly is a major step in understanding how to make a small snap pouch that’s functional and attractive.
With your piece turned right side out and pressed flat, close the gap from earlier by folding in the raw edges and pressing them in line with the seam. You’ll seal this later with topstitching.
Next, fold the pouch into shape. Start by folding the bottom third up, and the top third down to form the flap. Adjust the folds until you’re happy with the layout—remember, the flap should overlap the front by about an inch.
Pin the sides of the pouch to hold it in place. You can also press it with the iron to help it keep its shape while sewing the final seams.
Topstitch along both side edges, which will secure the pouch’s shape and close the turning gap at the same time. Go slowly to ensure even stitches and avoid puckering.
After sewing the sides, topstitch along the flap edge too. This adds a professional finish and reinforces the fabric, preventing it from fraying over time.
Once you complete these steps, your pouch is almost finished! Just one more exciting part of how to make a small snap pouch remains: adding the closure.
4. Adding the Snap Closure
Now it’s time to finish your project by adding the snap, which is the defining feature when it comes to learning how to make a small snap pouch.
Choose the location for your snap carefully. Close the pouch and mark where the flap meets the body. This is where the two snap parts will go—one on the flap, the other on the front of the pouch.
If you’re using a plastic snap, follow the tool instructions to poke holes and press the snaps into place. For a magnetic or metal snap, you’ll likely need a seam ripper or small scissors to create tiny openings.
Place the male part of the snap on the flap and the female part on the pouch body. Double-check alignment before securing them. Misaligned snaps can ruin the functionality of your pouch.
Test the snap several times to make sure it opens and closes smoothly. If you feel resistance, check the tightness and positioning to correct it.
Snaps are secure and user-friendly, which is why they’re so popular in small projects like this. Adding one completes your understanding of how to make a small snap pouch.
Now that your snap is installed and working, step back and admire your finished creation. You’ve learned all the basics and can now repeat the process with variations!
FAQ – How to Make a Small Snap Pouch
What size fabric should I use for a small snap pouch?
For a typical pouch, 6.5” by 5.5” fabric pieces work well. You can adjust depending on your desired final size.
Can I sew a snap pouch without a sewing machine?
Yes, it is possible to hand-sew a snap pouch, but it will take more time. Use tight, small stitches for durability.
What kind of snap should I use?
Plastic snaps are beginner-friendly. Magnetic or metal snaps offer a more refined look but require extra tools.
Do I need interfacing?
Interfacing adds structure to your pouch and helps it hold its shape, making your finished project look more professional.
Can I wash the snap pouch?
Yes, most snap pouches are washable. If you used plastic or sewn-in snaps and cotton fabric, it can be machine-washed gently.
Is this a good project for beginners?
Absolutely! This tutorial on how to make a small snap pouch is perfect for beginners because it’s quick, uses simple materials, and provides great practice in sewing basics.
In this tutorial, you learned how to make a small snap pouch step by step—from choosing materials and cutting fabric to sewing and adding a snap closure. This project is a wonderful introduction to sewing and gives you a practical and stylish result in very little time.
Whether you’re using it to organize small items, gifting it to a friend, or just enjoying the satisfaction of a completed craft, this pouch is a winner. With this guide, you now have the confidence and knowledge to make more, maybe even experiment with sizes and shapes!
We hope this tutorial helped you fully understand how to make a small snap pouch. If you enjoyed this guide or have suggestions for improvements, please leave your honest opinion and any ideas for future projects in the comments. Your feedback means the world to us!


